Get the best results from your braiding appointment with our comprehensive pre-braid preparation guide. Essential steps for healthy, long-lasting styles.
Proper preparation is the secret to beautiful, long-lasting braids. At Milly's Fab in Tucson, we've seen firsthand how pre-braid preparation affects the final result and the health of your natural hair. Follow this comprehensive checklist to ensure your braiding appointment goes smoothly and your style lasts as long as possible.
Why Pre-Braid Preparation Matters
Taking time to properly prepare your hair before braiding:
- Ensures easier, faster installation
- Reduces breakage and damage
- Helps braids last longer
- Promotes healthier hair underneath
- Makes the styling process more comfortable
- Achieves better-looking results
The Week Before: Deep Conditioning
One Week Before Your Appointment
Start strengthening your hair with a deep conditioning treatment:
What You'll Need: - Deep conditioner or hair mask - Plastic cap or heat cap - Wide-tooth comb
Steps: 1. Wash hair with clarifying shampoo 2. Apply deep conditioner generously 3. Cover with plastic cap 4. Apply heat for 20-30 minutes (optional) 5. Rinse thoroughly with cool water 6. Air dry or use low heat
Why It Matters: Deep conditioning strengthens hair strands, adds moisture, and prepares your hair to withstand the braiding process.
2-3 Days Before: Protein Treatment (If Needed)
If your hair is weak, damaged, or prone to breakage, consider a protein treatment:
Signs You Need Protein: - Hair stretches excessively when wet - Limp, lifeless strands - Excessive breakage - Hair feels mushy or gummy
Application: - Follow product instructions carefully - Don't overdo it—too much protein causes brittleness - Always follow with a moisturizing conditioner - Skip this step if your hair is already strong
The Night Before: Wash and Detangle
This is the most important preparation step:
Step 1: Clarifying Wash
Why Clarify: Removes product buildup, oils, and residue that can interfere with braiding.
How to Do It: 1. Wet hair thoroughly with warm water 2. Apply clarifying shampoo to scalp 3. Massage gently with fingertips 4. Work shampoo through the length of hair 5. Rinse completely 6. Repeat if hair is very dirty or has heavy buildup
Step 2: Moisturizing Shampoo
After clarifying, use a moisturizing shampoo:
1. Apply moisturizing shampoo 2. Focus on scalp and roots 3. Gently cleanse the length 4. Rinse thoroughly with lukewarm water
Step 3: Condition
Regular Conditioner: 1. Apply conditioner from mid-length to ends 2. Avoid the scalp to prevent greasiness 3. Leave on for 3-5 minutes 4. Rinse with cool water to seal cuticles
Step 4: Detangle Thoroughly
This is crucial—arrive with completely detangled hair:
Detangling Process: 1. Apply leave-in conditioner while hair is damp 2. Divide hair into 4-6 sections 3. Start from the ends and work up to roots 4. Use a wide-tooth comb or detangling brush 5. Be patient and gentle 6. Remove all knots and tangles
Pro Tip: If you have very tangled or matted hair, consider booking a detangling service before your braiding appointment.
Step 5: Stretch Your Hair
Stretched hair is easier to braid and creates neater results:
Stretching Methods: - Banding: Wrap hair ties down the length of sectioned hair - African Threading: Wrap thread around sections - Braiding: Put hair in large braids overnight - Blow Drying: Use low heat with a tension method
Let Hair Dry Completely: Never arrive with wet or damp hair.
Day of Appointment: Final Preparations
What to Do
Morning of Your Appointment: 1. Remove braids or bands used for stretching 2. Lightly moisturize with a water-based spray 3. Apply a small amount of oil to your scalp 4. Gently finger-detangle if needed 5. Section hair loosely for easy access
What NOT to Do: - Don't apply heavy oils or products - Don't use gel or edge control - Don't wet your hair - Don't apply leave-in conditioner excessively - Don't arrive with dirty hair
What to Bring
For Your Comfort: - Snacks and water - Phone charger - Entertainment (book, tablet, headphones) - Neck pillow for long sessions - Sweater (salons can be cold)
For Your Hair: - Hair extensions (if you have specific preferences) - Edge control or gel (if you have a favorite) - Hair accessories (beads, cuffs, etc.) - Photos of desired style
Hair Extension Preparation
If you're bringing your own hair:
Synthetic Hair - Remove from packaging - Separate bundles - Dip in hot water to seal ends (if desired) - Let dry completely before appointment
Human Hair - Wash and condition before use - Let air dry completely - Detangle thoroughly - Bring more than you think you'll need
Special Considerations
For Relaxed Hair - Wait at least 2 weeks after relaxer before braiding - Ensure hair is strong and not over-processed - Deep condition more frequently - Consider protein treatments
For Color-Treated Hair - Wait 1-2 weeks after coloring - Deep condition regularly - Use color-safe products - Inform your stylist about recent chemical treatments
For Natural Hair - Ensure hair is well-moisturized - Trim split ends if needed - Stretch hair thoroughly - Communicate your hair's porosity to your stylist
For Transitioning Hair - Be extra gentle with the line of demarcation - Deep condition regularly - Consider protective styles that don't stress the weak point - Trim damaged ends
What Your Stylist Needs to Know
Communicate these details at your appointment:
- Recent chemical treatments (relaxers, color, keratin)
- Scalp sensitivities or allergies
- Tender-headed areas
- Desired braid size and length
- How long you plan to keep the style
- Your lifestyle and maintenance capabilities
Common Preparation Mistakes
Arriving with Dirty Hair This makes braiding difficult and can cause odor issues later.
Not Detangling Properly Tangles slow down the process and can cause breakage during braiding.
Over-Moisturizing Too much product makes hair slippery and hard to braid.
Skipping the Stretch Unstretched hair is harder to braid and may result in uneven braids.
Arriving Late Braiding takes time. Arrive on time or early to ensure your stylist can complete your style.
The Ultimate Pre-Braid Checklist
One Week Before: - ☐ Deep condition hair - ☐ Trim split ends if needed - ☐ Purchase hair extensions if needed
2-3 Days Before: - ☐ Protein treatment (if needed) - ☐ Prepare hair extensions
Night Before: - ☐ Clarifying wash - ☐ Moisturizing shampoo - ☐ Condition thoroughly - ☐ Detangle completely - ☐ Stretch hair - ☐ Let dry completely
Day of Appointment: - ☐ Remove stretching braids/bands - ☐ Light moisturizer - ☐ Pack comfort items - ☐ Arrive on time with clean, dry, detangled hair
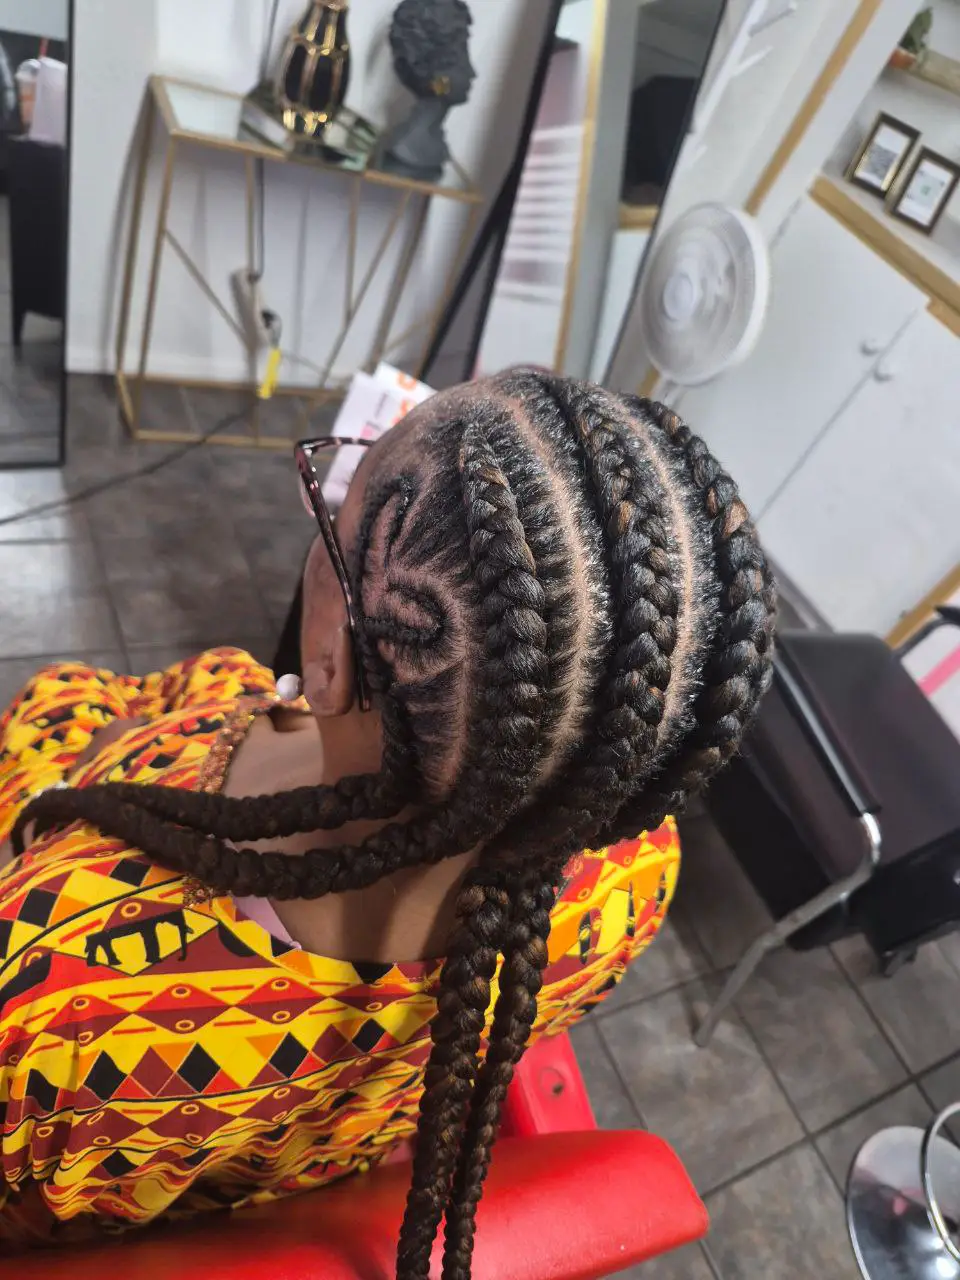
Professional Braiding at Milly's Fab
At our East Tucson salon, we appreciate clients who come prepared. It allows us to:
- Complete your style more quickly
- Achieve better results
- Ensure your comfort throughout the process
- Protect your natural hair health
- Create braids that last longer
Our experienced stylists will work with your hair's unique needs to create the perfect protective style.
Conclusion
Proper preparation is essential for beautiful, long-lasting braids. By following this comprehensive checklist, you'll ensure the best possible results from your braiding appointment and keep your natural hair healthy underneath.
Ready for gorgeous braids? Book your appointment at Milly's Fab Hair Salon, located at 2914 East 22nd Street in East Tucson. Call us at (520) 551-2211. We baby your hair!
*Content was rephrased for compliance with licensing restrictions. Information based on professional braiding best practices and expert stylists.*
Keywords:
Share this article:
Related Services
Interested in this style? Check out our professional services:
About Milly's Fab Team
The expert stylists at Milly's Fab Hair Salon in East Tucson are passionate about natural hair care and protective styling. We're dedicated to helping clients achieve healthy, beautiful hair through expert braiding, loc maintenance, and personalized care.
Learn more about our salon →